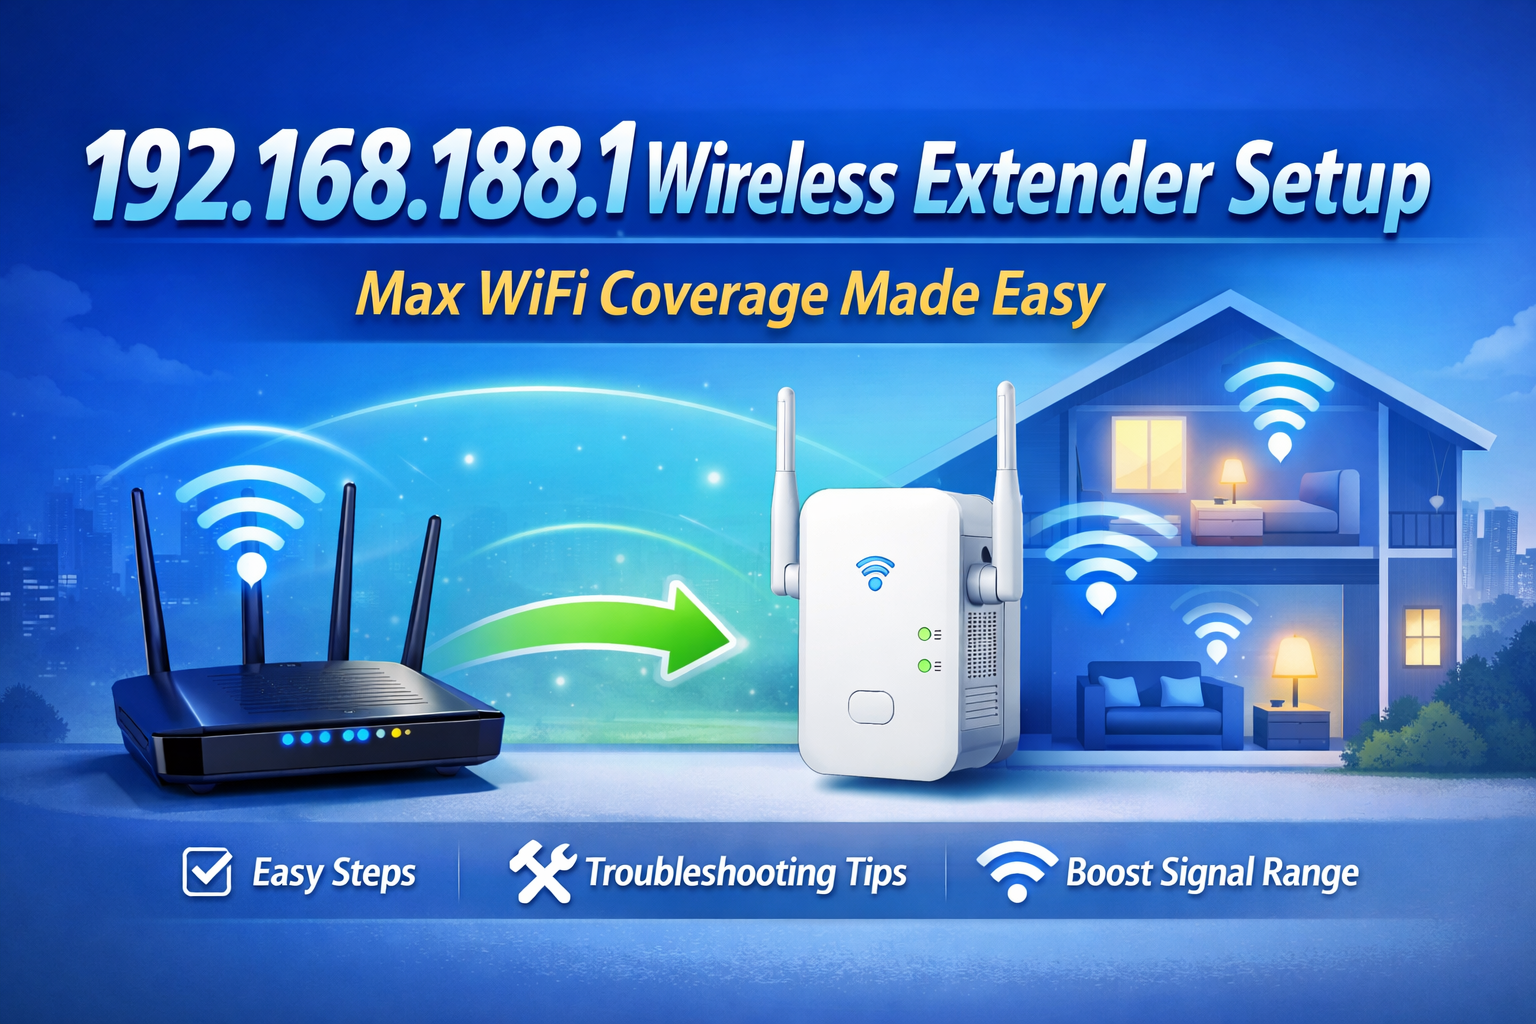
Facing weak WiFi signals, buffering, or dead zones in your home or office? A 192.168.188.1 wireless extender setup helps expand your existing network and deliver stable internet access in every corner. This guide explains how to setup a WiFi extender using 192.168.188.1, fix common setup issues, and optimize placement to achieve maximum WiFi coverage.
Are you trying to setup a WiFi extender using 192.168.188.1?
Is your WiFi extender connected but still not giving full coverage?
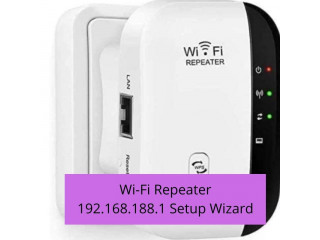
What Is 192.168.188.1 Used For?
192.168.188.1 is a private IP address that opens the wireless extender admin panel. From this setup page, users can connect the extender to their router, adjust network settings, and improve overall WiFi range.
If your router signal doesn’t reach all rooms, completing a proper 192.168.188.1 wireless extender setup is one of the most effective solutions.
Things You Need Before Setup
Before starting, make sure you have:
- A working WiFi router
- Wireless extender powered ON
- Mobile, laptop, or desktop
- Router WiFi name (SSID) and password
Step-by-Step: WiFi Extender Setup Using 192.168.188.1
Step 1: Position the Extender
Plug the extender halfway between your router and the low-signal area. This ensures a smooth setup and better signal relay.
Step 2: Connect to the Extender Network
- Open WiFi settings on your device
- Connect to the extender’s default SSID shown on the label
Step 3: Open the Extender Admin Page
- Launch any web browser
- Type http://192.168.188.1 in the address bar
- Press Enter
This will open the extender configuration wizard.
Step 4: Login to the Admin Panel
Use default credentials (commonly):
- Username: admin
- Password: admin
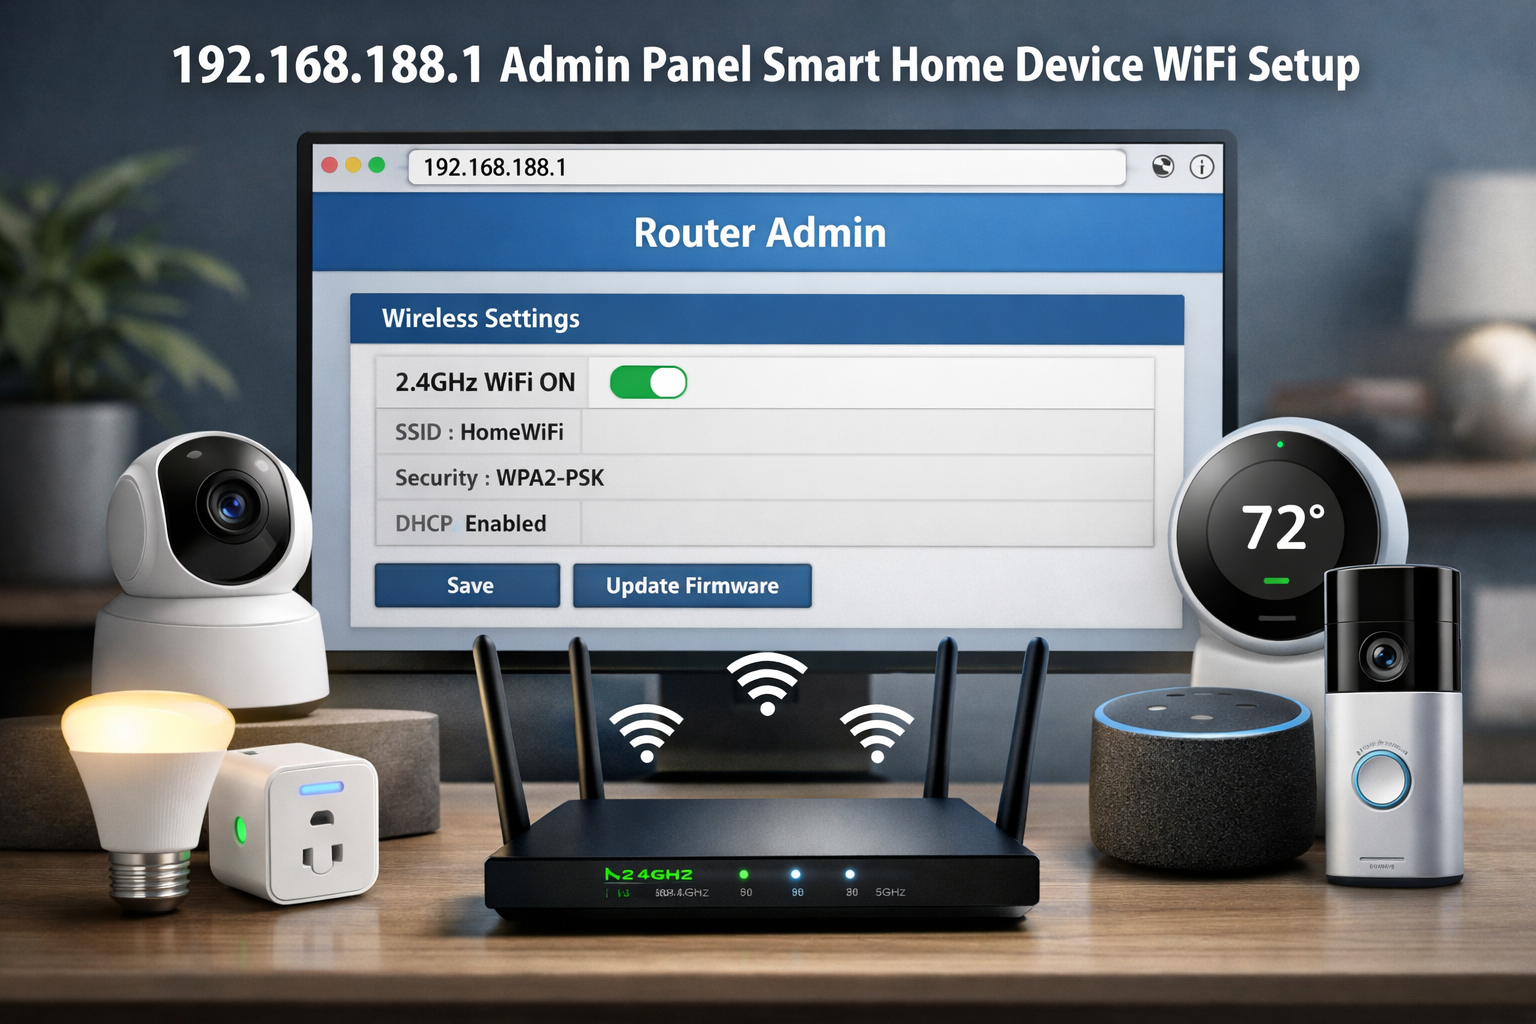
Step 5: Complete the Extender Configuration
- Select your main router’s WiFi network
- Enter the correct password
- Click Save / Apply
After reboot, your 192.168.188.1 wireless extender setup will be completed successfully.
Tips to Get Maximum WiFi Coverage
To improve performance after setup:
- Place the extender at eye level
- Avoid walls, metal objects, and electrical appliances
- Use the same WiFi name (SSID) for seamless roaming
- Keep extender firmware updated
These tips help your WiFi extender deliver consistent speed and coverage.
Common Problems & Quick Fixes
192.168.188.1 Not Working
- Ensure your device is connected to the extender WiFi
- Clear browser cache
- Try another browser
Extender Connected but No Internet
- Recheck router password
- Move the extender closer to the router
- Reset the extender and repeat the setup process
Slow WiFi Speed After Setup
- Change extender placement
- Reduce connected devices
- Switch WiFi channel
Final Thoughts
A correctly configured 192.168.188.1 wireless extender setup helps eliminate WiFi dead zones, improve signal strength, and ensure uninterrupted connectivity across your home or office.
FAQs
What is 192.168.188.1 used for?
It is used to access the admin panel during 192.168.188.1 wireless extender setup and manage extender settings.
Are you trying to setup a WiFi extender using 192.168.188.1?
To setup your WiFi extender, follow the step-by-step instructions above to connect it to your router and configure settings correctly.
Is your WiFi extender connected but still not giving full coverage?
Check placement, router connection, and perform troubleshooting steps listed above.
Can I setup a WiFi extender using my phone?
Yes, the extender setup page works on mobile, laptop, and desktop devices.
Why is my extender not boosting WiFi range?
Incorrect placement or an incomplete extender configuration can reduce performance.