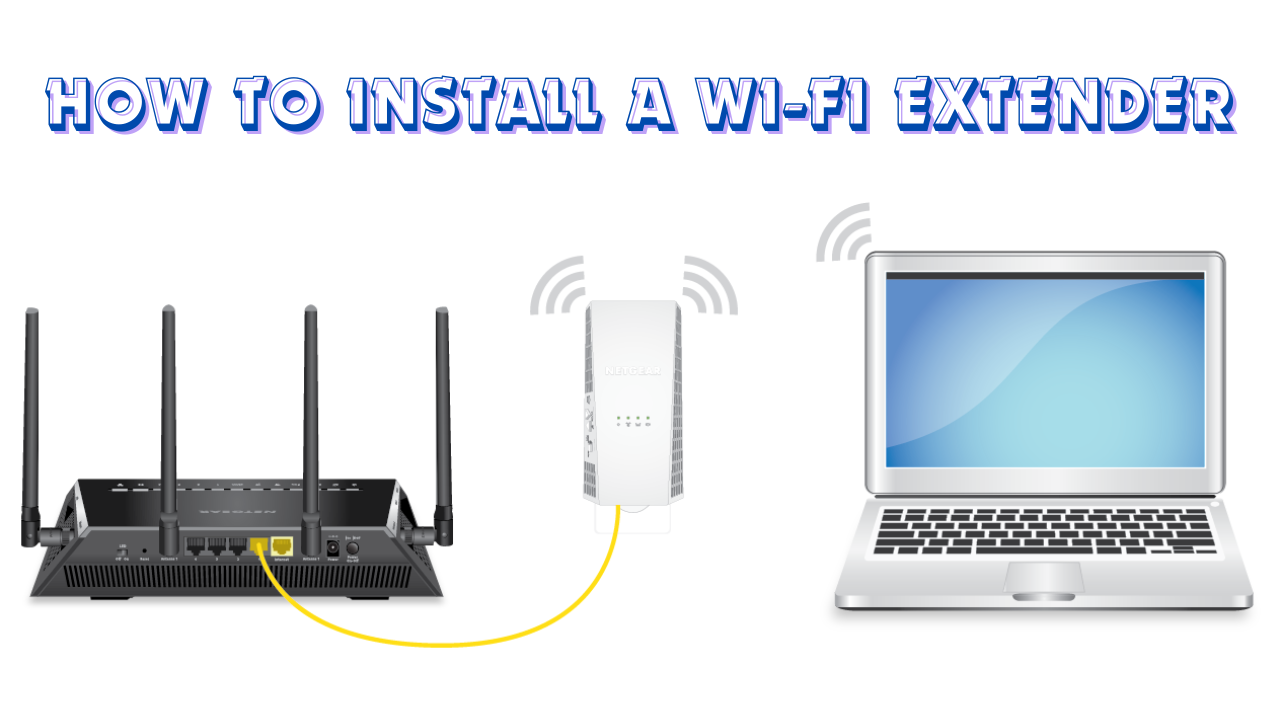
A Wi-Fi extender is a device that can help to improve your Wi-Fi signal in areas where it is weak or nonexistent. Wi-Fi extenders work by taking the signal from your router and amplifying it, creating a stronger signal in areas where it is needed. Here are the steps on how to install a Wi-Fi extender:
Preparation:
- Choose the Right Location: Place the extender within the range of your existing Wi-Fi signal but also close enough to the area where you need better coverage.
- Power Outlet Availability: Ensure there’s a power outlet nearby for the extender.
Installation Steps:
Unbox and Power Up:
- Unbox the Wi-Fi extender and plug it into a power outlet.
- Wait for it to power on and boot up (this may take a minute or two).
Connect to the Extender:
- On your computer or mobile device, access the list of available Wi-Fi networks.
- Look for the network name (SSID) of the extender (it usually has a different name or includes the extender’s model number). Connect to this network.
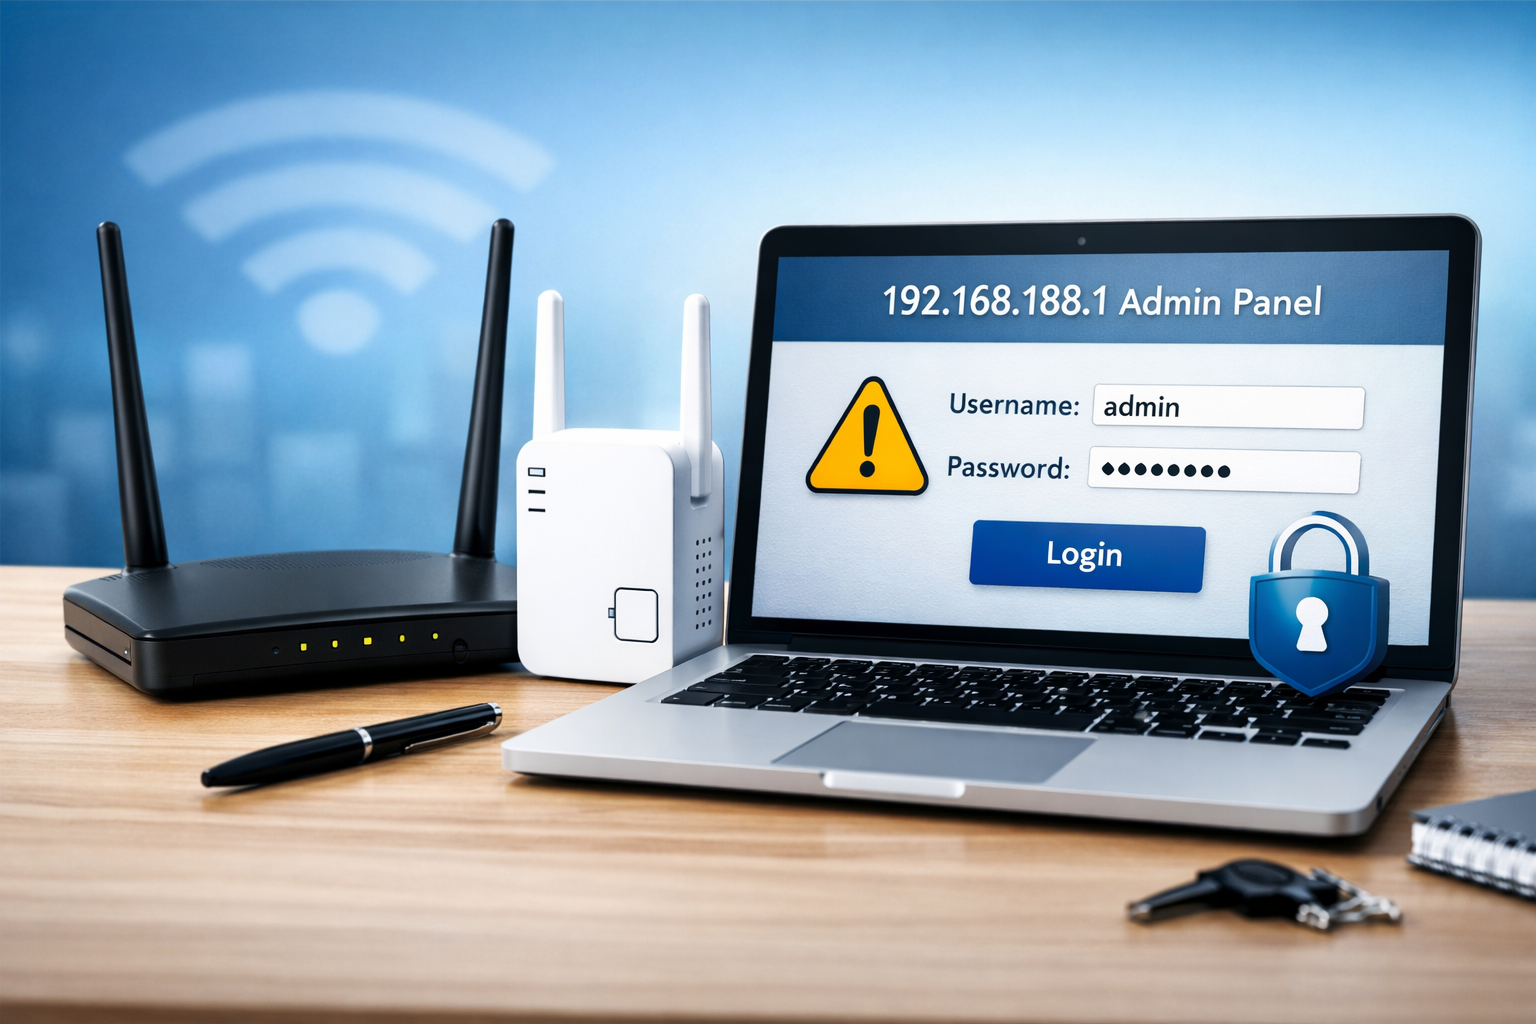
Access the Extender’s Settings:
- Open a web browser and enter the default IP address 192.168.188.1 of the extender (check the manual for this information).
- Log in using the default credentials provided in the manual. If there’s no default password, leave it blank or use “admin/admin” or “admin/password.”
Configure the Extender:
- Follow the setup wizard or configuration steps displayed on the web interface.
- You’ll typically select your existing Wi-Fi network and enter its password to connect the extender to it.
- Some extenders offer dual-band functionality, allowing you to set up both 2.4GHz and 5GHz networks.
Placement Optimization:
After configuration, if possible, test the Wi-Fi signal strength in different areas of your home or office. Adjust the extender’s placement if necessary to get optimal coverage.
Finalize Setup:
- Once you’re satisfied with the coverage, save the settings on the extender’s web interface.
- Reconnect your devices to the extended network using the newly configured credentials.
Security and Updates:
- Change the default login credentials of the extender for security reasons.
- Check for firmware updates regularly through the extender’s web interface and apply them if available.
Tips:
- Signal Strength: Ensure the extender’s LED lights indicate a strong connection to your main Wi-Fi network.
- Avoid Interference: Keep the extender away from devices that could cause interference, such as microwaves, cordless phones, or Bluetooth devices.
- Reboot if Needed: If you experience connectivity issues, try rebooting the extender and retesting the signal strength.
Always refer to the specific instructions provided with your Wi-Fi extender as setup steps might vary depending on the brand and model.
Overall, In this article step-by-step guide how to install a Wi-Fi extender can be a great way to improve your Wi-Fi signal. However, it is important to weigh the pros and cons before you purchase one.