A WiFi repeater, also known as a range extender, is a handy device designed to boost your wireless network’s coverage. If you’ve just purchased a WiFi repeater with the default IP address 192.168.188.1 and are eager to get it up and running, you’re in the right place. In this 192.168.188.1 quick installation guide, we’ll walk you through the essential steps to set up your repeater and extend your WiFi signal effectively.
Step 1: Unbox and Prepare Your WiFi Repeater
Start by unboxing your WiFi repeater and ensuring you have all the necessary components: the repeater unit, a power adapter, and an Ethernet cable (if applicable). Place the repeater in a location where it can receive a strong WiFi signal from your router.
Step 2: Plug in the WiFi Repeater
Connect the repeater to a power source using the provided power adapter. Wait for the device to power on and boot up. Most repeaters have indicator lights that will show when it’s ready for configuration.
Step 3: Connect to the Repeater’s WiFi Network
On your computer or mobile device, open the list of available WiFi networks and look for a network with a name like “WiFi_Repeater” or something similar. This is the repeater’s default network. Connect to it.
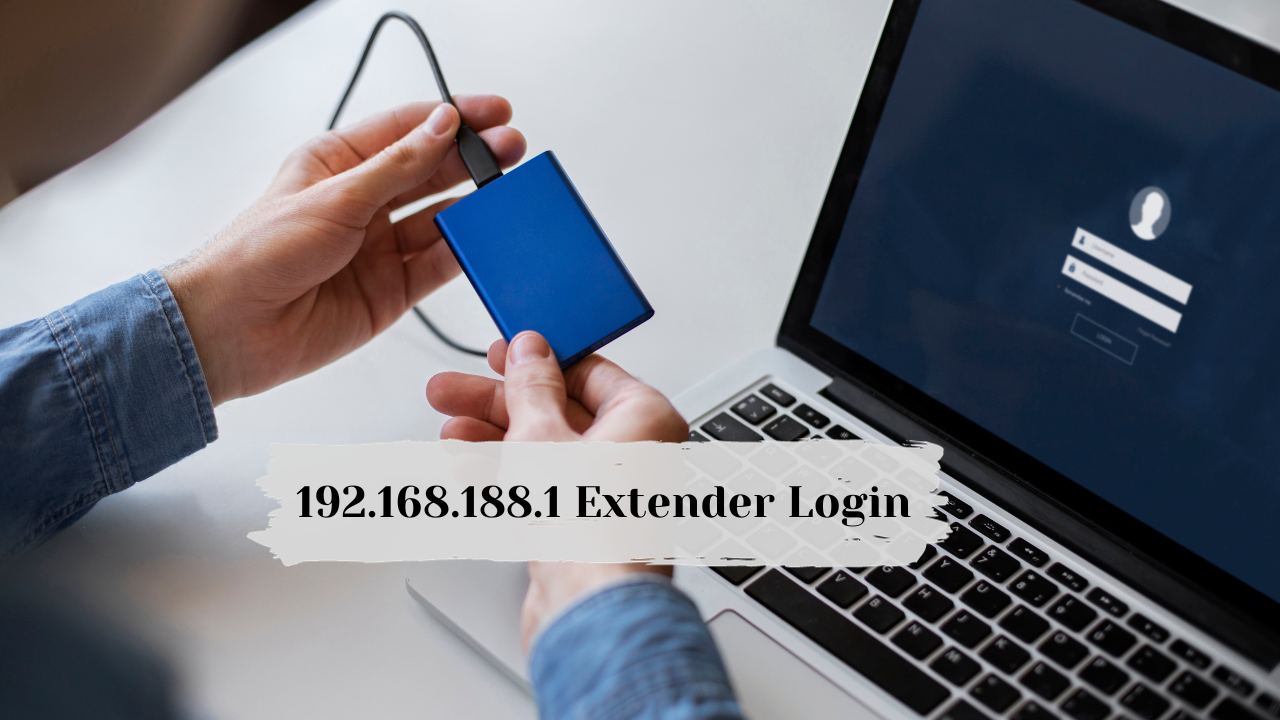
Step 4: Access the Repeater’s Configuration Page
Open a web browser on the device connected to the repeater’s network and enter the default IP address: 192.168.188.1 in the address bar. Press Enter. This will take you to the repeater’s configuration page.
Step 5: Log in to the Repeater
You may be prompted for a username and password to access the configuration settings. Typically, the default credentials are ‘admin’ for both the username and password. Consult your repeater’s manual or documentation if you encounter login issues.
Step 6: Configure the Repeater
Once logged in, you will be presented with the repeater’s configuration interface. Follow these general steps:
- Select your existing WiFi network from the list of available networks.
- Enter your WiFi network’s password when prompted.
- Choose a name (SSID) for your repeater network, which is the network that your devices will connect to.
- Set a password for your repeater network to ensure security.
- Apply the settings, and the repeater will restart.
Step 7: Reconnect to Your WiFi Network
After the repeater has rebooted, your computer or mobile device will disconnect from the repeater’s network. Reconnect to your main WiFi network, and you should now have extended coverage from the repeater.
Step 8: Test and Optimize
To ensure the repeater is working correctly, move around your home or office and check for a stable WiFi connection in areas that previously had weak or no coverage. If needed, you can adjust the repeater’s location for optimal signal strength.
Read Also: 192.168.188.1 Login – Setup The Extenders To Cover The Dead Zones!
Conclusion
With this quick installation guide, you can easily set up your WiFi repeater using the default IP address 192.168.188.1. Extending your WiFi network’s coverage has never been simpler, and you can now enjoy a stronger and more reliable wireless connection throughout your space. If you encounter any issues during the setup process, refer to the repeater’s manual or contact the manufacturer’s support for assistance.